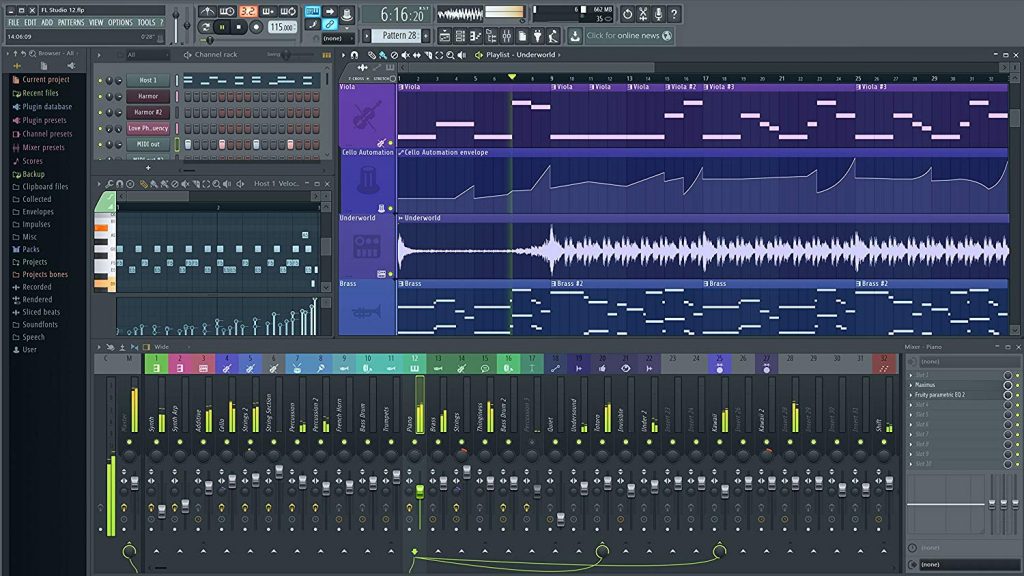
This is an effective tutorial that helps you learn how to remove FL Studio on your macOS and Mac OS X. This tutorial contains an automatically removal solution, a manually removal solution and a video is provided which teach you how to remove FL Studio by MacRemover.
What is it?
FL Studio is a complete software music production environment or Digital Audio Workstation (DAW). Representing more than 20 years of innovative development it has everything you need in one package to compose, arrange, record, edit, mix and master professional quality music.
Video: How To Automatically Remove FL Studio by MacRemover?
Use automatically removal solution to remove FL Studio in your macOS
1. Download and install MacRemover
2. Switch to Finder and select Go -> Applications from the Finder menu.
3. Locate the MacRemover icon and double-click on it.
4. FL Studio icon will be displayed on the Apps listview of MacRemover, and click on it.
5. Click “Run Analysis”, and then “Complete Uninstall”. FL Studio will be automatically and completely removed.
Use manually removal solution to remove FL Studio in your macOS
The steps listed below will guide you in removing FL Studio:
1. Switch to the Finder and select Go -> Utilities from the Finder menu.
2. Locate the Activity Monitor icon and double-click on it.
3. On the main window of Activity Monitor, find the entry for FL Studio, engine, ControlCreator, Diagnostics, pluginmanager, OsxFL select them and click Quit Process.
4. Switch to the Finder again and select Go -> Applications from the Finder menu. Find the FL Studio icon, right-click on it and select Move to Trash. if user password is required, enter it.
5.Then, hold an Option key while the Finder’s Go is being selected. Select Library. Locate any folders that are named the following names and drag them to the Trash.
- Image-Line (in Documents folder)
- com.image-line.flstudio (in Caches folder)
- com.image-line.flstudio.binarycookies (in Cookies folder)
- Image-Line (in Preferences folder)
6. The following files/folders of FL Studio, you need to use “rm” command to delete on the Terminal.
- Image-Line
7. Restart your macOS.
