Adobe InDesign is a desktop publishing application released by Adobe Systems. People use it to create works including posters, flyers, brochures, newspapers, magazines and books. It can also be used for publishing content on tablet devices that are connected to Adobe Digital Publishing Suite.
This application could be installed along with another Adobe product you are using. You would be wondering how to uninstall Adobe InDesign, if it was not your original intention to get the application. But you might not know that after you drag it to the Trash, there are still some components left on your Mac, and you got to find and delete them to realize the complete removal. How to do that? In the rest of this article, I will guide you through the whole process with some details explained. Then you know how to correctly uninstall Adobe InDesign and other programs you don’t need.

What is the Best Solution to Uninstall Adobe InDesign?
I would like to introduce an easy approach to uninstall Adobe InDesign, just in case you are more interested in saving time for other purposes. There you go:
1.Download – Install – Run MacRemover
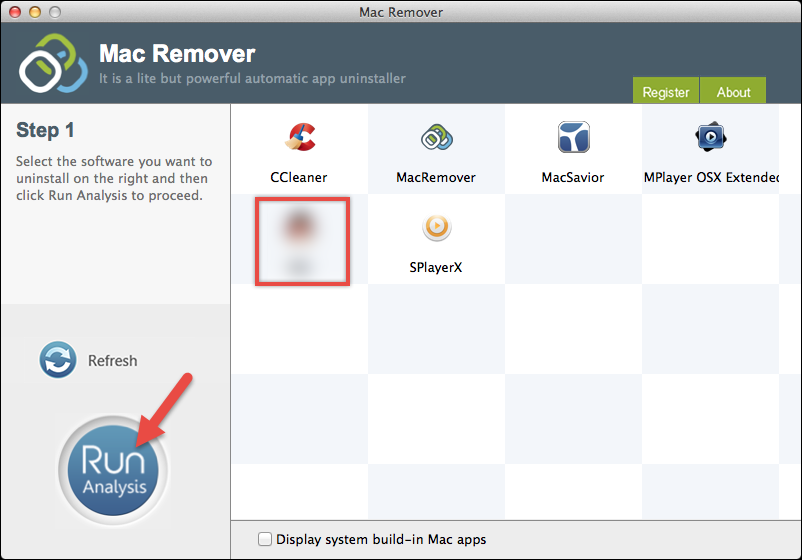
2.Select – Run Analysis
In the list of installed applications, select Adobe InDesign as a target, and hit “Run Analysis”.
3. Complete Uninstall
It displays the files to be removed with their names, sizes and locations behind. Click on “Complete Uninstall” to proceed with the removal. If you are prompted with the confirmation, click on “Yes”to fully uninstall Adobe InDesign from your Mac.
When the removal is completed, it will say“Congratulations! Adobe InDesign has been successfully removed…”
How Do I Manually Remove Adobe InDesign from Mac
1.An Administrator Account or the Password
To uninstall Adobe InDesign or any other applications on Mac, you need to either log into your Mac with an administrator account or know the password. If you are not using an administrator account, it will ask for permission when you try to delete something or make changes. (You can find out whether your account has admin rights by clicking on the Apple menu – System Preference – Users & Groups. Check that your account shows in the list as “Admin”.)
2.Find the program
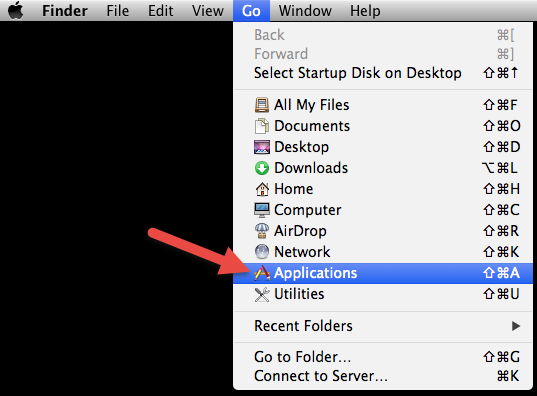
Browse the Application folder or Desktop, see if you can find Adobe InDesign. This is just like you see those app icons on your iPhone/iPad: some applications are represented by only a single icon (e.g. Mozilla Firefox), while some are classified by a folder of multiple icons (e.g. Microsoft Office). Adobe InDesign should belong to the former. > If it doesn’t show on the Desktop, go to the upper left corner of the screen, click “Go” on the Finder, select “Applications”, then browse for it again.
3. Drag to the Trash
Drag the Adobe InDesign icon to the Trash, which is on the right end of the Dock (quickly move it to the trash by pressing Cmd + Del). When you release the left mouse button, it sounds like the application being scrunched up, but actually it will stay until you empty the Trash.

4. Empty the Trash
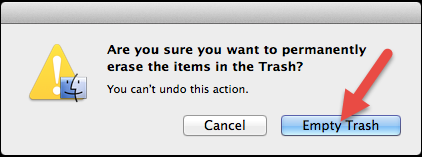
Do it once you are certain that you will never use the program again (or in a short time at least). Right-click on the Trash icon, select “Empty Trash”. It will ask for your confirmation, also click “Empty Trash” on the message. This will permanently uninstall Adobe InDesign and everything inside, freeing up the hard drive space on your Mac.
5.Unhide the User Library folder
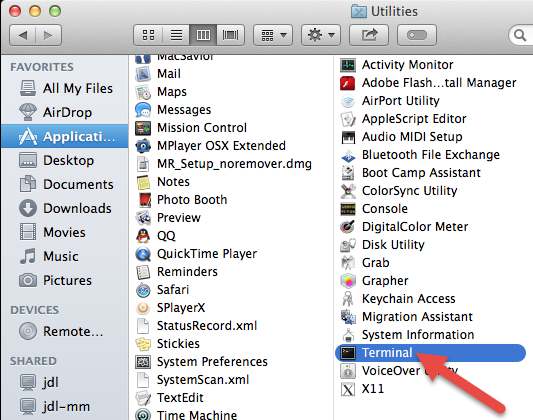
To ensure the complete removal, it would be better to unhide the Library folder permanently.Steps: Open Finder, and navigate to Applications – Utilities – Terminal (double-click to launch).
Type “chflags nohidden ~/Library” into Terminal (without the quotation marks), and press “Return” on your keyboard to run the command.

6. Finder – Go – Library
In the entire removal process, the Library folder could be a blind spot to many users. So this is teaching you how to delete the Support and Preference Files from it, which are those left behind after you uninstall Adobe InDesign application. Usually they are very small, so if you attempt to reinstall the application, you can keep them. Otherwise, just do the following to clean them out.
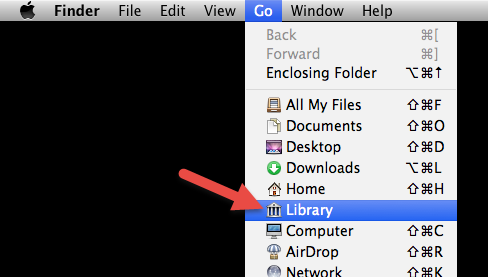
In the upper-left corner of the screen, hold the “Option” key on your keyboard, click “Go” on the Finder, and select “Library” to open the Library folder.
7.Browse – Trash
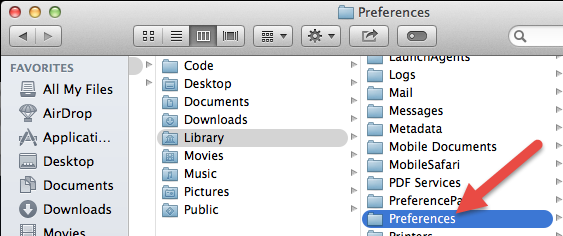
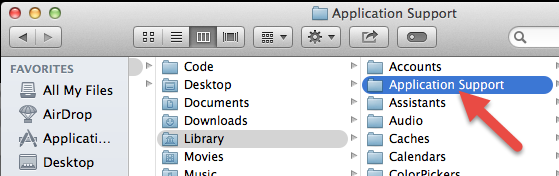
Under ~/Library/, ~/Library/Preferences/, and ~Library/Application Support/, look for the files or folders with the name of InDesign or Adobe Systems (the vendor).
Then right-click on it, select “Move to Trash” to delete it. If you can’t “Empty Trash” right away, restart your Mac and try again. This is how you can manually uninstall Adobe InDesign on your Mac. If you have any questions about the instructions or anything you want to share, leave your comment below.
Have a nice day!