
iMovie is a video editing suite that comes free with the Apple operating system. Preinstalled on most Macs, it allows users to browser video clips, create HD movies and share fantastic moments with your friends. Yet, in case you don’t actually use iMovie, it may make sense to uninstall this app to free up disk space. Mostly its additional files, such as preference files and application support files, still remains on the hard disk after you delete iMovie from the Application folder. If by any chance you wanna remove iMovie completely, cleaning out all its traces is highly necessary. Continue reading this article to learn about how to uninstall iMovie properly.

Uninstall iMovie with MacRemover (Recommended):
As a lightweight, professional and easy-to-operate utility, MacRemover is highly recommended for you to accomplish iMovie removal. It can automatically scan and promptly sweep away every piece of the target application within a few clicks. Now let’s see how it works to thoroughly delete iMovie from your Mac.
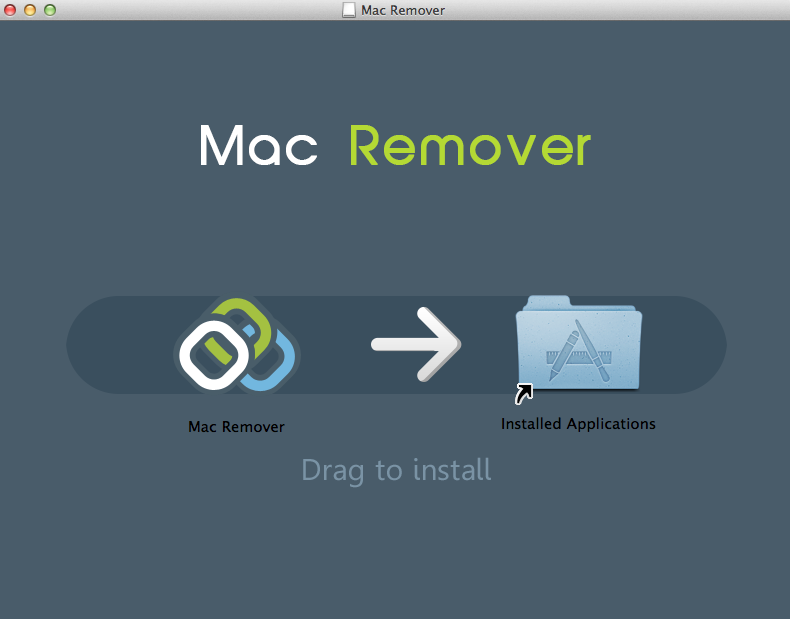
1. Download MacRemover and install it by dragging its icon to the Application folder.
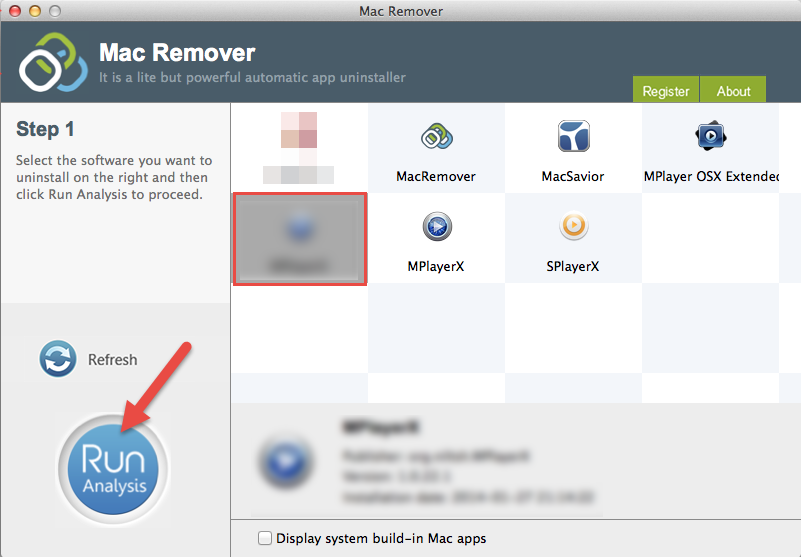
2. Run MacRemover in the Launchpad, select iMovie appearing on the interface, and click Run Analysis button to proceed.
3. Review iMovie files and folders, click Complete Uninstall button and then click Yes in the pup-up dialog box to confirm iMovie uninstall.
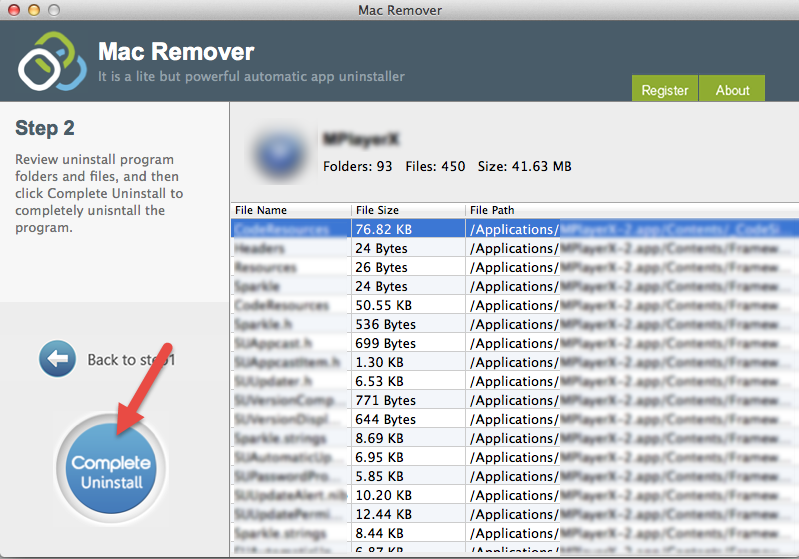
The whole removal process may take a few seconds to finish, and then the iMovie app as well as its associated items will be successfully removed from your Mac!
Regular Solution to Uninstall iMovie from Your Mac:
If you would like to delete iMovie by yourself, follow the manual steps below:
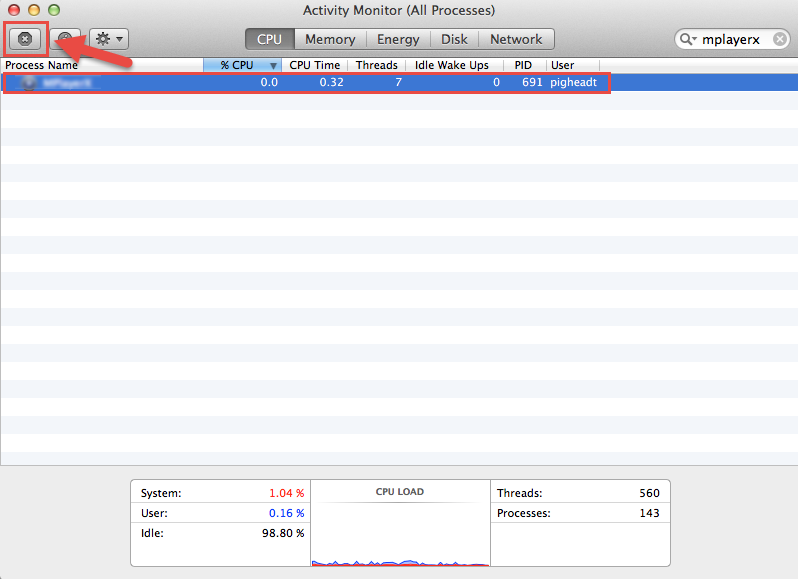
Step 1. Terminate iMovie process(es) via Activity Monitor
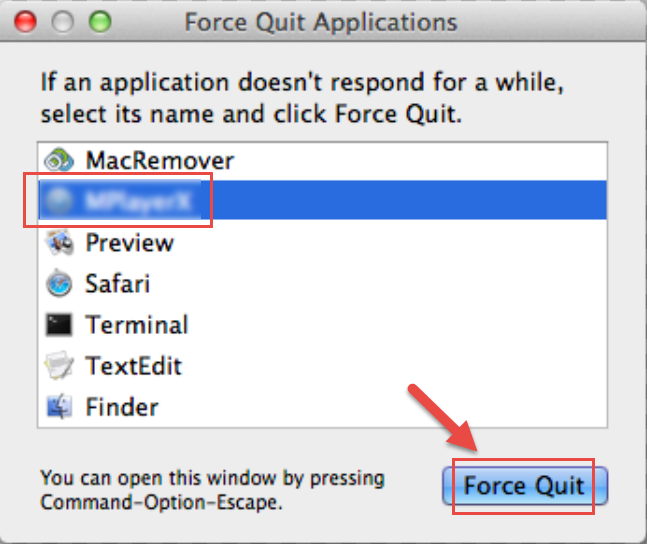
Before uninstalling iMovie, you’d better quit this application and end all its processes. If iMovie is frozen, you can press Cmd +Opt + Esc, select iMovie in the pop-up window and click Force Quit to quit this program (this shortcut for force quit works for the application that appears but not for its hidden processes).
Open Activity Monitor in the Utilities folder in Launchpad, select the process(es) associated with iMovie in the list, click Quit Process icon in the left corner of the window, and click Quit in the pop-up dialog box (if that doesn’t work, then try Force Quit).
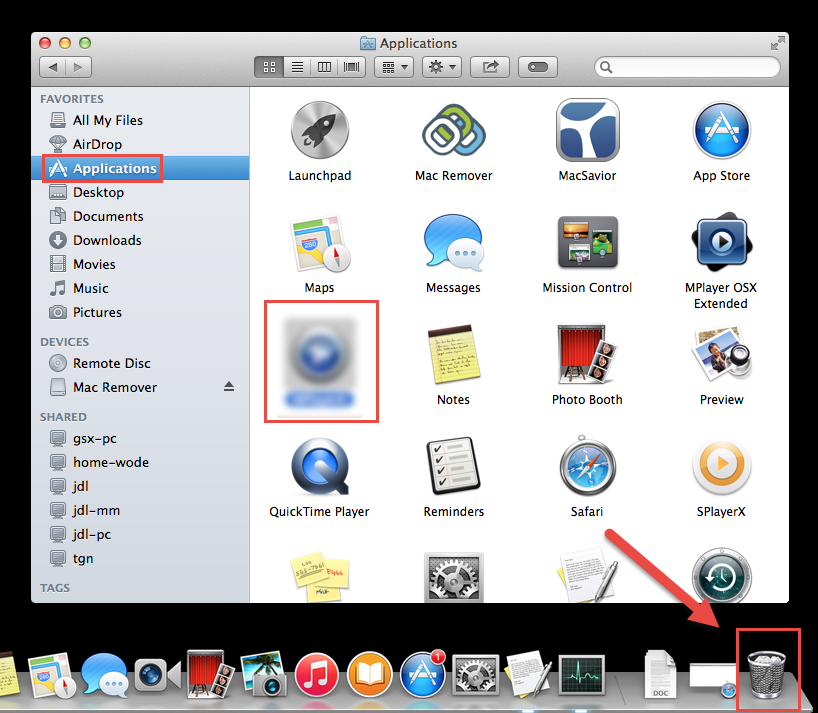
Step 2. Delete iMovie application to the Trash
First of all, make sure to log into your Mac with an administrator account, or you will be asked for a password when you try to delete something.
Option 1:
Head to the Applications folder in the Finder, select iMovie icon and drag it to the Trash in the dock to begin the uninstall process. Alternatively you can highlight iMovie with a single click and move it to the Trash by pressing Cmd + Del buttons.
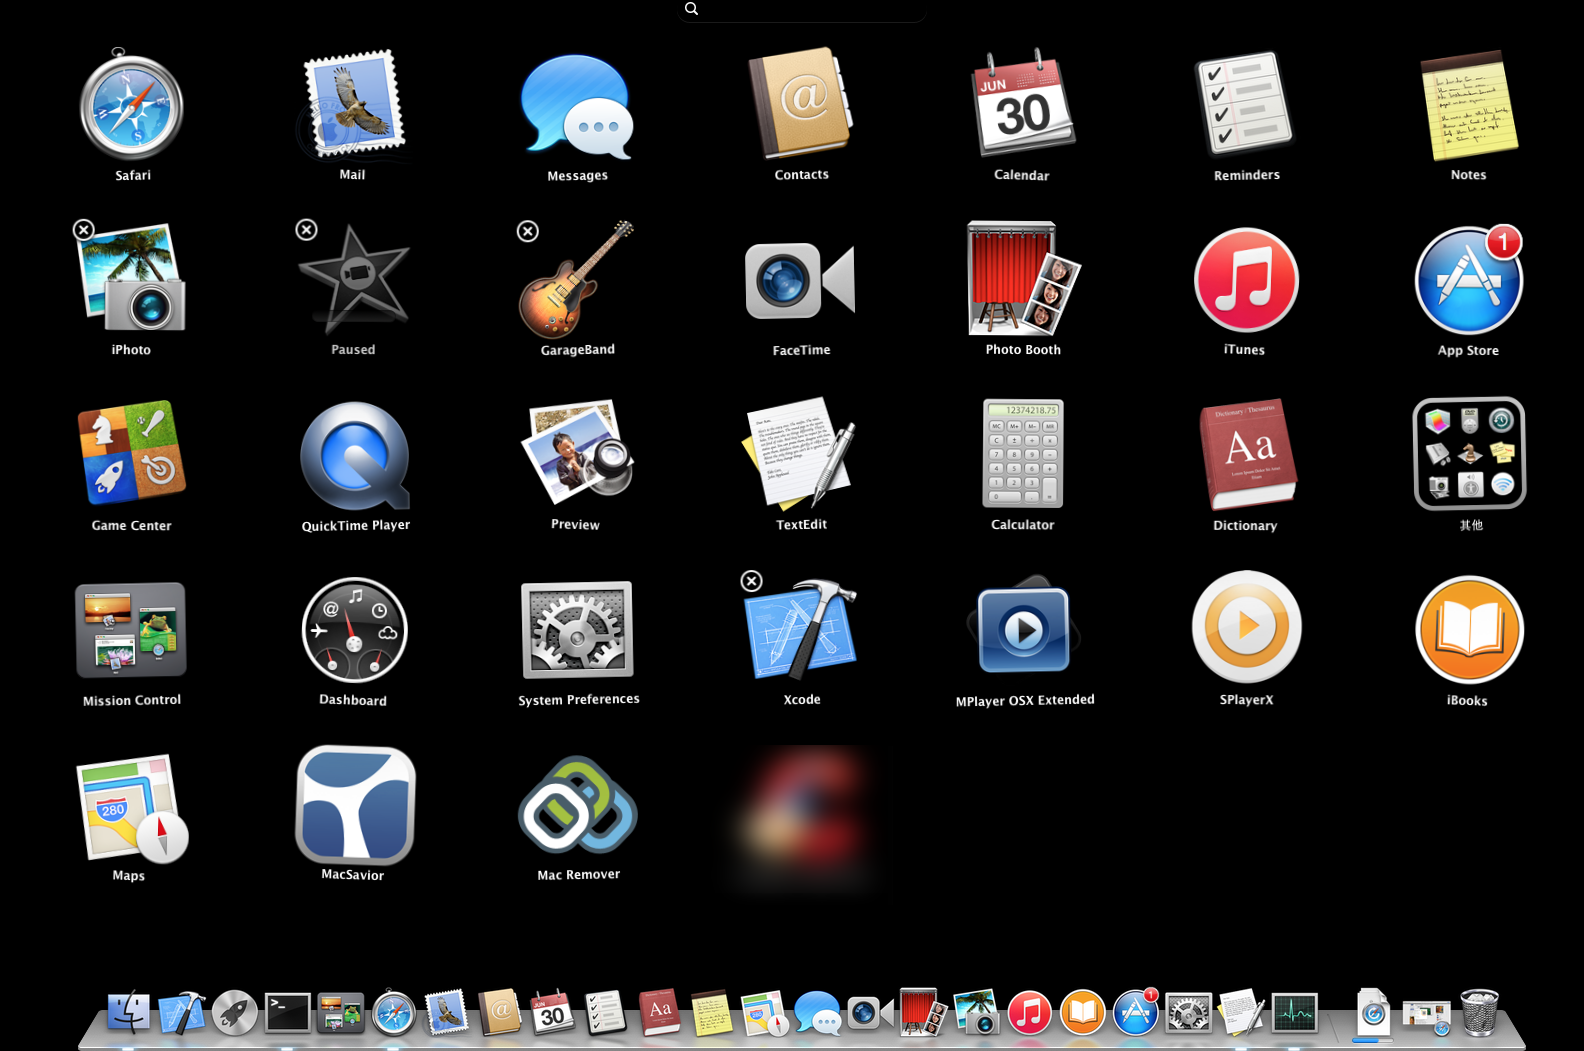
Option 2:
For the applications that are installed from the App Store, you can simply go to the Launchpad, search for the application you wanna delete, click and hold its icon with your mouse button until the icon begins to wiggle and shows the “X” in its left upper corner. Then click the “X” and click Delete in the confirmation dialog to uninstall it.
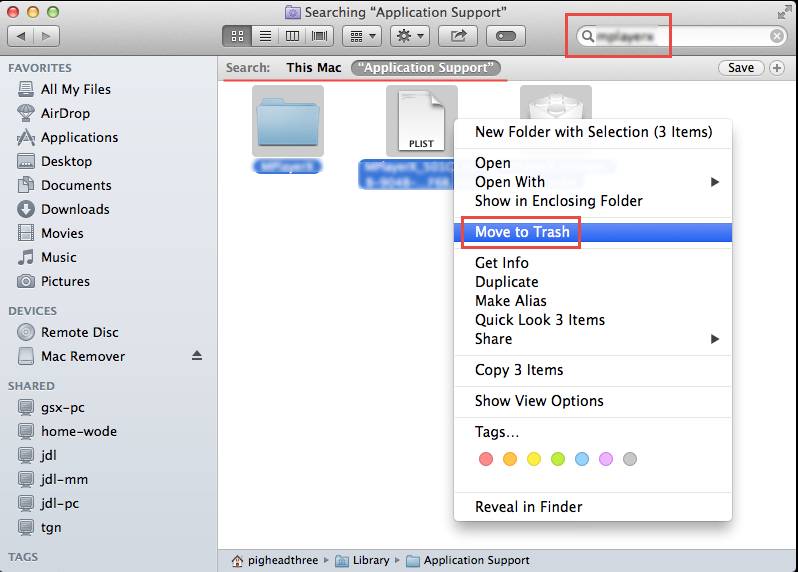
Step 3. Remove all components related to iMovie
Though iMovie has been deleted to the Trash, its lingering files, logs, caches and other miscellaneous contents may be stored stored around the OS X file system. You can manually detect and clean out all components with this application.
Open the Finder, go to the Menu Bar, open the “Go” menu, select the entry:|Go to Folder… and then enter the path of the Application Support folder: ~/Library

Search for any files or folders with the program’s name or developer’s name in the ~/Library/Preferences/, ~/Library/Application Support/ and ~/Library/Caches/ folders. Right click on those items and click Move to Trash to delete them.
Meanwhile, search the following locations to identify and delete associated items:
/Library/Preferences/
/Library/Application Support/
/Library/Caches/
Besides, there may be some kernel extensions or hidden files that are not obvious to identify or locate. In that case, you can do a Google search about the components for iMovie. Usually kernel extensions are located in /System/Library/Extensions and end with the extension.kext, while hidden files are mostly located in your home folder. You can use Terminal (inside Applications/Utilities) to list the contents of the directory in question and delete the offending item.
Step 4. Empty the Trash to fully delete iMovie
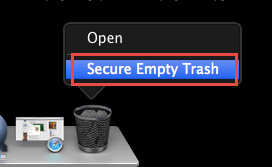
If you are determined to delete iMovie permanently, the last thing you need to do is emptying the Trash. To completely empty your trash can, you can right click on the Trash in the dock and choose Empty Trash, or simply choose Empty Trash under the Finder menu. (Notice: you can not undo this act, so make sure that you haven’t mistakenly deleted anything before doing this act.) If you change your mind, before emptying the Trash, you can right click on the items in the Trash and choose Put Back in the list. In case you cannot empty the Trash, reboot your Mac and do it again.
That’s all. After performing these steps you should have successfully remove iMovie and its associated files to make more disk space available.
This article provides you two methods to properly and quickly uninstall iMovie, and either of them works for most of the apps on your Mac. With the unique Smart Analytic System, MacRemover is capable of quickly locating every associated components of iMovie and safely deleting them within a few clicks. All you need to do is just a select-and-delete move. If you confront any problem in any application removal, don’t hesitate to apply this automatic tool and resolve your troubles.