
FileZilla is a free open source application that transfers and uploads multiple files via FTP, or File Transfer Protocol. This is deal if you want to transfer files large in size or a lot of individual files from one computer to another, or need to upload to an online server for backup or website hosting purposes. It is surely a great tool to use, but when users tried to remove FileZilla, they met with difficulties.
It might be easy to you that the first part of deleting an application is to drag it to the Trash, which is much simpler than that on Windows OS. The complicated part is to delete the application’s vestiges. They could be hiding in several locations, and for a complete removal, you get to search each of them. Well, it is actually not that tough to go through, because you are going to know how to correctly remove FileZilla in the rest of this article.

HOW DO I MANUALLY REMOVE FILEZILLA ON MAC
Part One: Delete the application
You might be surprised to learn that most of Mac applications can be removed by unceremoniously dragging them to the Trash, when they are not running at the time. Occasionally however, several additional steps are required to make sure that preferences files and other unwanted items are cleaned out on your computer completely.
Some Mac applications, such as iTunes and iPhoto, are packaged into application bundles or packages, which are displayed as a single icon but may in fact contain multiple subfolders, preferences and resource files (e.g. Images and other content the application needs). To check the content of a package, right-click on its icon and select “Show Package Contents” from the pop-menu. Then perform the following steps:
1. To make sure the removal goes smoothly, quit the FileZilla application if it is currently running.
2. As a precaution, see whether the application is active by using Activity Monitor.
3. At the top of Activity Monitor, change the filter to All Processes. The full list of running applications and processes are shown.
4. Search the Process Name column for FileZilla. If it is there, highlight the name, then hit the Quit Process button.
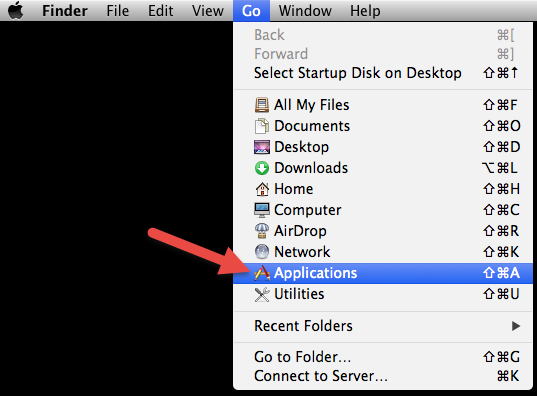
5. Open the folder where FileZilla resides – usually it is in your Application folder.
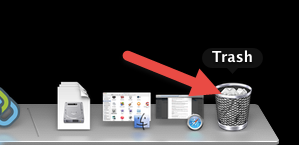
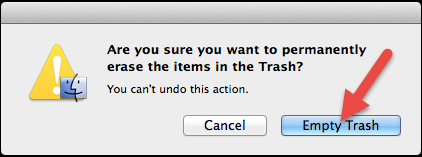
6. Select the application, right-click on it, then select Move to Trash from the pop-up menu (or simply Command + Delete). Origin will be right away moved to the Trash, and when you are 100% that everything is working OK and you don’t need it anymore, empty the Trash to permanently remove FileZilla. Before that, you can drag it out back to where it was.
7. Now you can restart your Mac. This step might be necessary in some cases sot that the system can recognize that the has been properly removed.
Now you get to remove its remaining files, which might be left behind. It is advisable for a great performance of your Mac. Refer to the next part to do so.
Part Two: Remove FileZilla vestiges.
This is what most users would forget to do. The remained additional files on your hard drive are taking your precious system resources, while they are not doing anything useful. So to completely remove FileZilla, don’t leave behind its vestiges. However, if you are planning to reinstall the application, you can keep them.
1. Delete the Preferences. Applications store their preferences in a file with a .plist extension. Though these files are very small, you need to find the right ones to delete in case of any serious problems. Search for the name of Origin in two locations below:
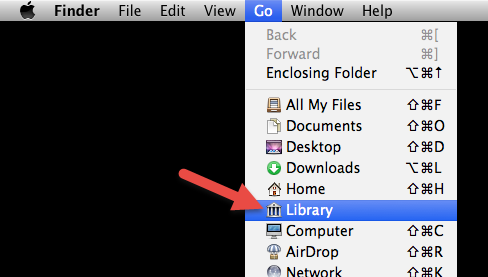
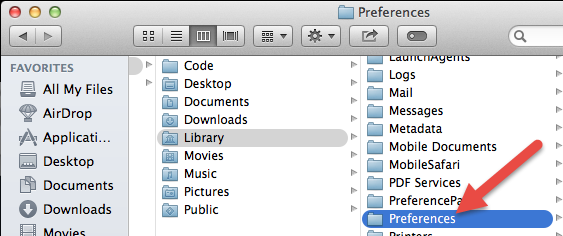
- ~/Library/Preferences
- Macintosh HD/Library/Preferences
2. Delete the Support Files. This kind of files are usually larger than preferences files, especially for multimedia applications. Therefore, you are advised to find and delete those files. Also search for the name of Origin in two locations below:
- ~ / Library / Caches / FileZilla
- Macintosh HD / Library / Caches / FileZilla
HOW DO I EASILY REMOVE FILEZILLA ON MAC
MacRemover makes the whole process a doddle. If you are not quite familiar with Mac OS X, you may appreciate an approach to remove FileZilla and other apps you want to uninstall. It will just take you, like one minute, to finish the job within only three steps:
1. Download, install and launch MacRemover.
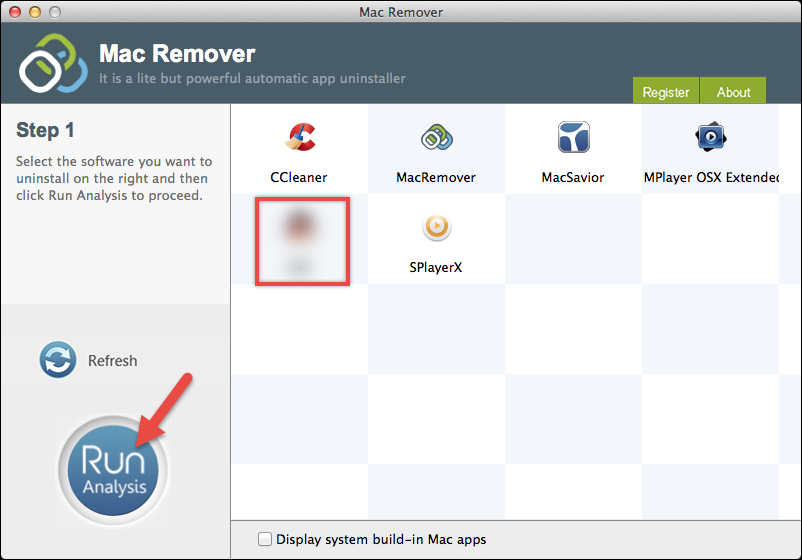
2. In the list of installed applications, select FileZilla as your target and hit Run Analysis on the left.
3. It displays the files to be removed with their names, sizes and locations followed. Click on Complete Uninstall on the left to proceed with the removal. If you are prompted with the confirmation, click on Yes to completely remove FileZilla.
ADDITIONAL OPTIMIZATION TIPS
Desktop Cleaning:
Having your Desktop cluttered with files does slow your Mac down, since every icon is taking up some RAM (Random Access Memory). So don’t store files on the Desktop, unless you need to use it frequently.
Less Startup Items:
All those startup items are consuming your Mac’s resources. You are highly suggested checking and cleaning them up periodically. Find them at: System Preferences – Users & Groups – Login Items.