VMware Fusion is a virtualization software hypervisor developed by VMware Inc. for computers running OS X with Intel processors. It allows Intel-based Macs to seamlessly run operating systems such as Microsoft Windows, Linux, NetWare, or Solaris on virtual machines. This app has rock-solid stability and unobtrusive design. It can be highly customizable by expert users, and users can run Windows applications on their Macs without rebooting. Yet, VMware Fusion is heavy on RAM and CPU, so it may result in lock-ups and crashes if system resources are low. It also requires manual cleanup of unused disk space in Windows virtual machines. Anyway, if you decide to uninstall it for one or another reason, will you be able to remove it from your Mac while not causing any trouble? Users may run into various problems that causing the failure of complete removal for unknown reasons. Now relax. This tutorial will offer you two options to uninstall VMware Fusion without hassle. Continue reading to learn some techniques about app removal on Mac.

Option 1: Uninstall VMware Fusion with MaxRemover
As a lite and advanced uninstaller running on OS X, MacRemover is strongly recommended for you to get rid of any unwanted app. It is capable of scanning and removing all the components belonging to target app in a few seconds. If you are looking for a convenient and timesaving way to get VMware Fusion removed, try this handy tool first. Now let’s see how it works to uninstall VMware Fusion in a snap.
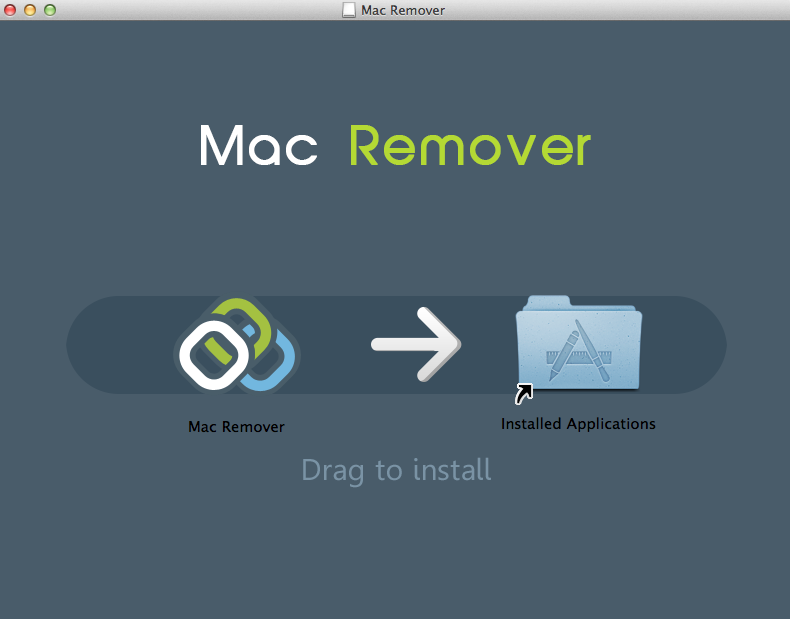
- Download MacRemover and install it by dragging its icon to the Application folder.
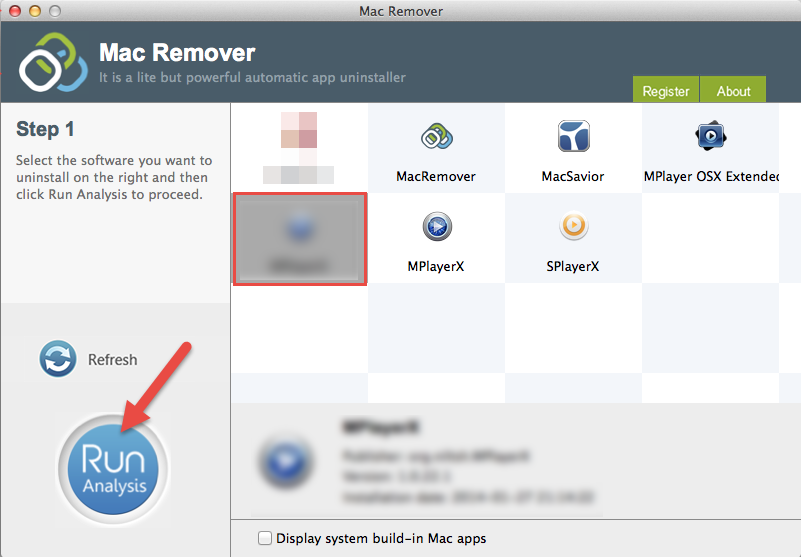
- Run MacRemover in the Launchpad, select VMware Fusion appearing on the interface, and click Run Analysis button to proceed.
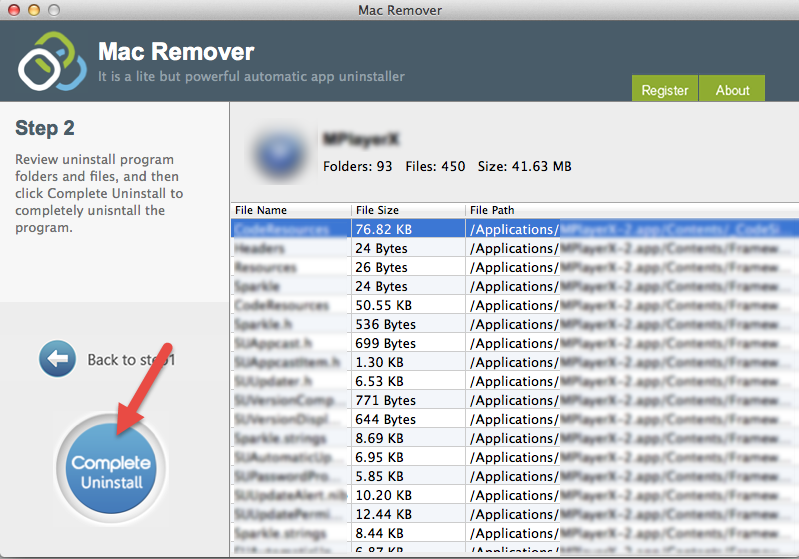
- Review related files and folders, click Complete Uninstall button and then click Yes in the pop-up dialog box to confirm VMware Fusion uninstall.
The whole removal process may take a few seconds to complete, and then VMware Fusion will be successfully removed from your Mac! Incrediblly easy, right?
Option 2: Conventional Means to Remove VMware Fusion
1. Quit VMware Fusion process(es)
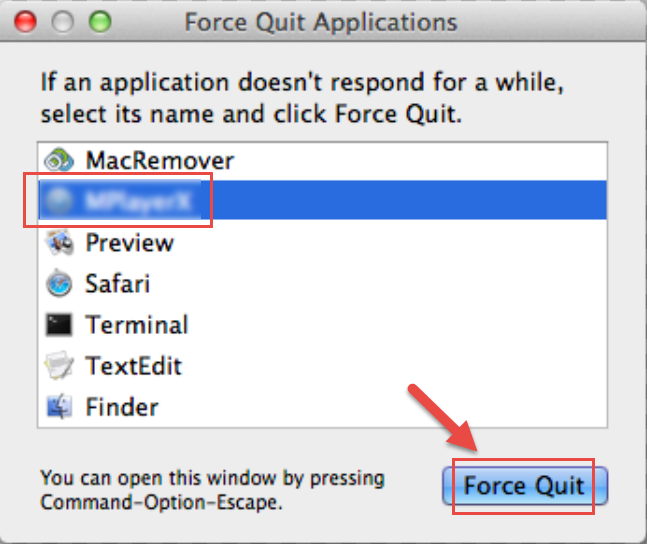
Before uninstalling VMware Fusion, you’d better quit this app and end all its background processes. If any app is frozen, you can hold down Cmd + Opt + Esc, select it in the pop-up window and then click Force Quit (notice: this shortcut for force quit works for the app that appears but not for its hidden processes).
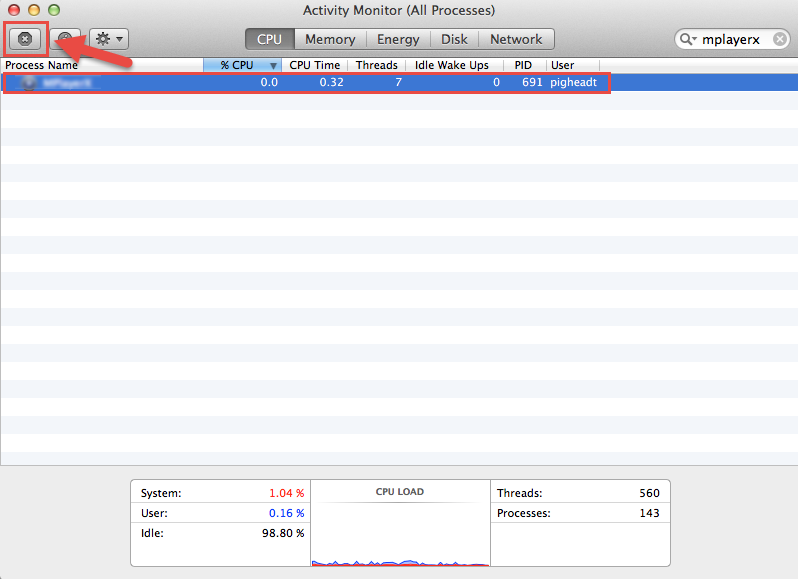
Open Activity Monitor in the Utilities folder in Launchpad, select the process(es) associated with VMware Fusion, click Quit Process icon in the left corner, and click Quit in the pop-up dialog box (if that doesn’t work, then try Force Quit).
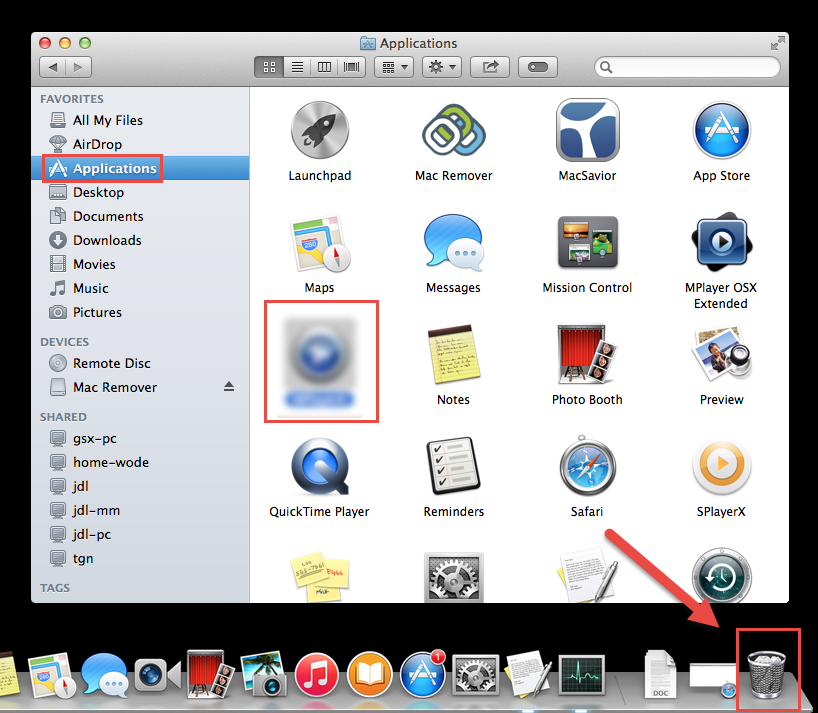
2. Drag VMware Fusion to the Trash
First of all, make sure to log into your Mac with an administrator account, and you will be asked for a password when you try to delete something.
Head to the Applications folder in the Finder, click on the VMware Fusion icon, and then drag it to the Trash in the dock. Alternatively you can highlight VMware Fusion with a single click and move it to the Trash by pressing Cmd + Del on your keyboard.
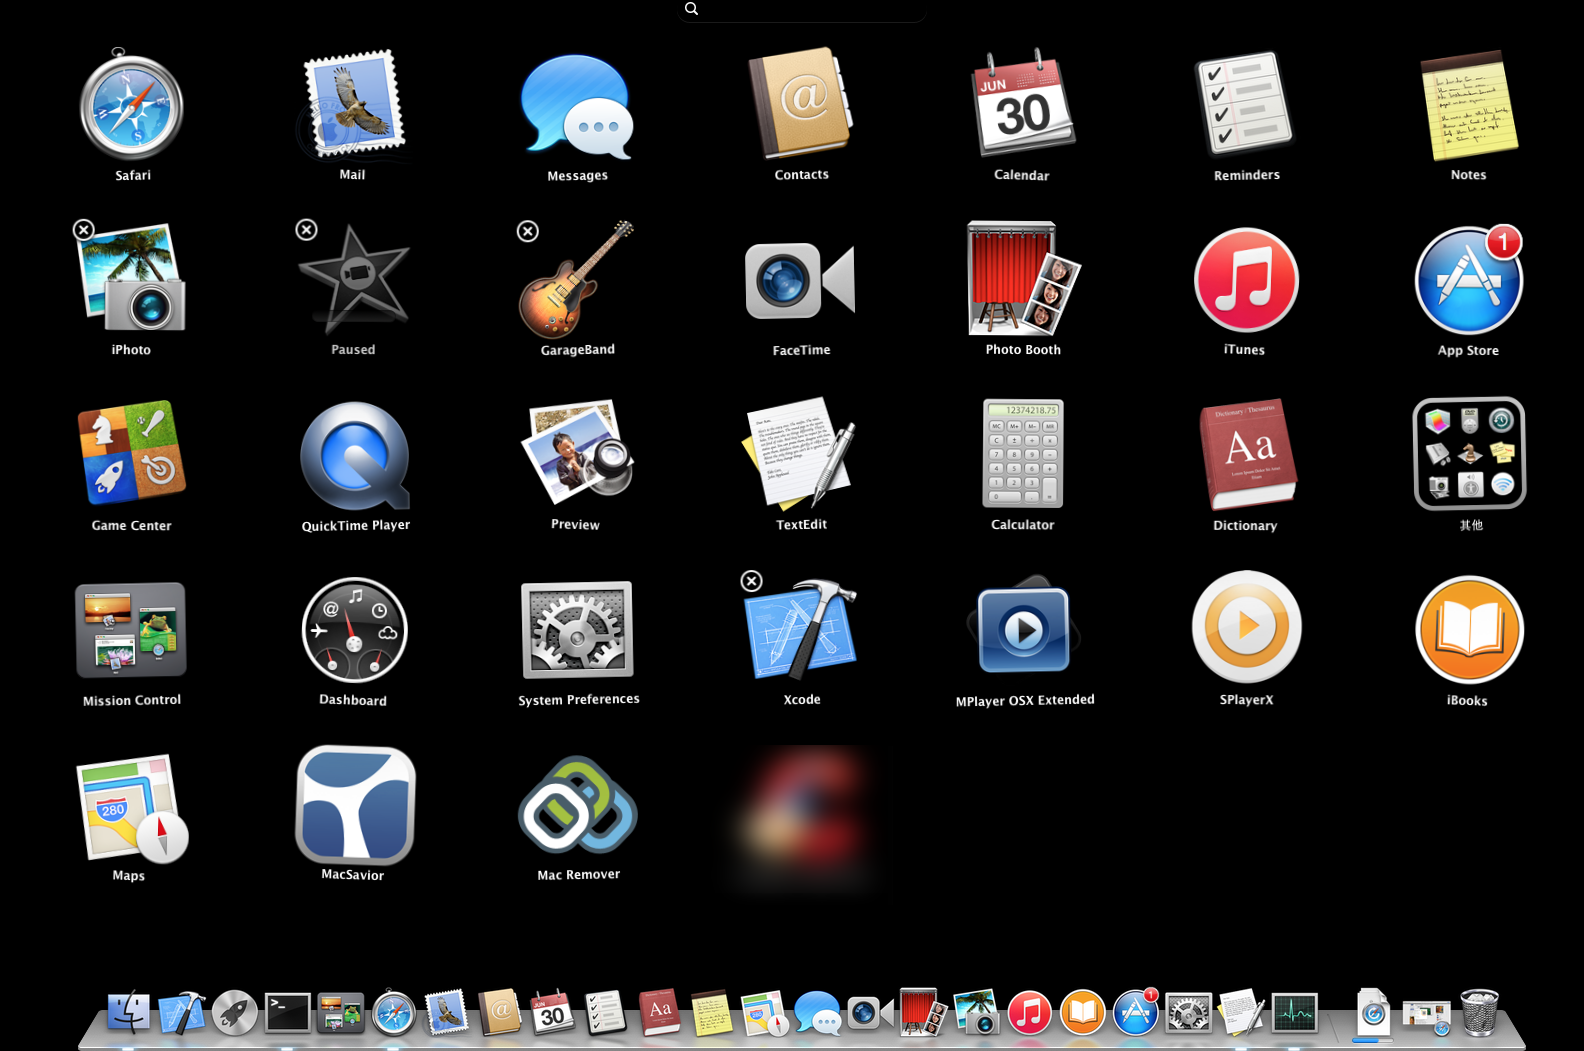
For the applications that are installed from the App Store, you can go to the Launchpad, search for the application you wanna delete, click and hold its icon with your mouse button until the icon begins to wiggle and shows the “X” in its left upper corner. Then click the “X” and click Delete in the confirmation dialog.
3. Delete VMware Fusion leftovers
Though VMware Fusion has been dragged to the Trash, its lingering files, logs, caches and other miscellaneous contents may be stored around the OS X file system. You still need to manually wipe off all traces associated with this app.
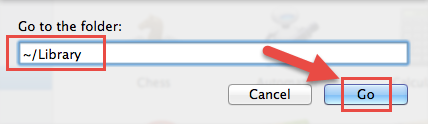
Open the Finder, go to the Menu Bar, open the “Go” menu, select the entry:|Go to Folder… and then enter the path of the Application Support folder: ~/Library
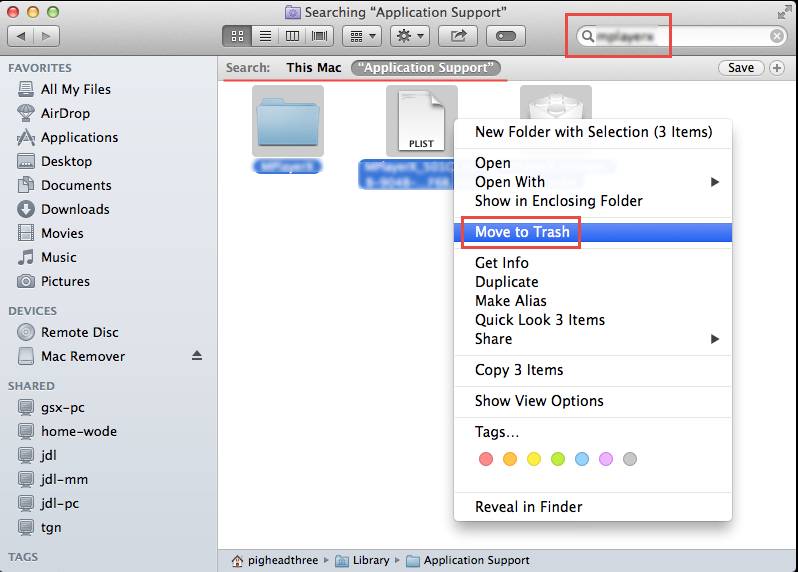
Search for any files or folders with the name of application or its vendor in the ~/Library/Preferences/, ~/Library/Application Support/ and ~/Library/Caches/ folders. Right click on those items and click Move to Trash to delete them.
Meanwhile, search the following locations to identify and delete associated items:
/Library/Preferences/
/Library/Application Support/
/Library/Caches/
Besides, there may be some kernel extensions or hidden files that are not obvious to identify or locate. In that case, you can do a Google search about the components for VMware Fusion. Usually kernel extensions are located in /System/Library/Extensions and end with the extension.kext, while hidden files are mostly located in your home folder. You can use Terminal (inside Applications/Utilities) to list the contents of the directory in question and delete the offending item.
4. Empty the Trash
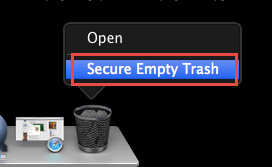
If you are determined to delete VMware Fusion permanently, the last thing you need to do is to empty the Trash. To completely empty your trash can, you can right click on the Trash in the dock and choose Empty Trash, or simply choose Empty Trash under the Finder menu. (Notice: you cannot undo this act, so make sure that you haven’t mistakenly deleted anything before doing this act.) If you change your mind, you can also right click on the items in the Trash and choose Put Back in the list. In case you cannot empty the Trash, reboot your Mac and do it again.
That’s all. After performing these steps you should have successfully remove VMware Fusion and the associated items from your Mac.
This post describes two ways to uninstall VMware Fusion, and either of them works for most of the apps on your Mac. With the unique Smart Analytic System, MacRemover can easily uninstall any stubborn, corrupted or incompatible app and sweep out lingering traces from your Mac – all in 3 steps. You just need to click, click, click, and the job is done. If you still have any app removal problem, just try this lite but powerful tool to save time and resolve troubles!