As a Mac user, you might wanna ask whether there is a control panel like the one in Windows system, where you can find an option to uninstall Battle.net program from your Mac. Unluckily, you can not find such a control panel on Mac, thus you are here looking for solutions to uninstall Battle.net. This article contains different ways to remove Battle.net and demonstrates them in details. After your reading, you can successfully get rid of Battle.net manually or automatically.

Part 1: Uninstall Battle.net in Manual Way
Manual removal of Battle.net will be a time-consuming job, you cannot just perform a drag-and-drop act hoping it will be gone without causing any trouble. Incomplete uninstall can bring you a series of problems, you might fail to utilize your Mac as usual or run into some start-up issues, or even encounter Mac crash during your movie time. Therefore, if you have decided to uninstall Battle.net, you can adopt correct method to have it disappear and clean up its additional files.
Details to uninstall Battle.net manually
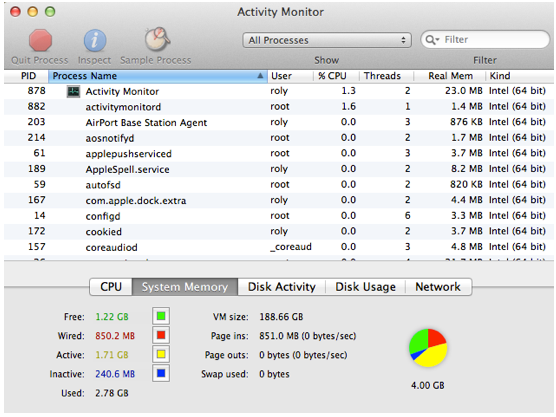
- Step 1: End the process of your Battle.net via Activity Monitor. Switch the filter into “All Process”, perform a single click on the Battle.net (if it is active), and then click “Quit Process” to end it.
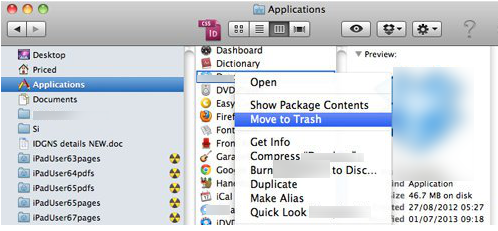
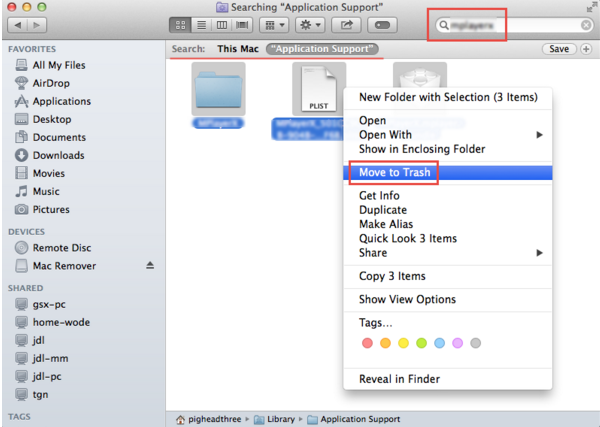
- Step 2: Go to Finder, drag the Battle.net icon to the Trash under the Applications menu, or right click on the icon and select “Move to Trash”.
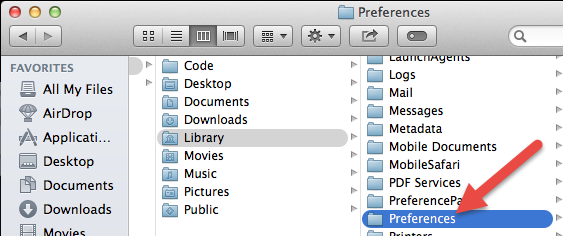
- Step 3: Head for Finder again, click “Library “ in the pull-down list under the Go menu

- Step 4: Search for all the additional folders including /Library/Preferences/, /Library/Application/Support/, and /Library/Caches/ respectively,and then move all the files involved in those folders to the Trash.

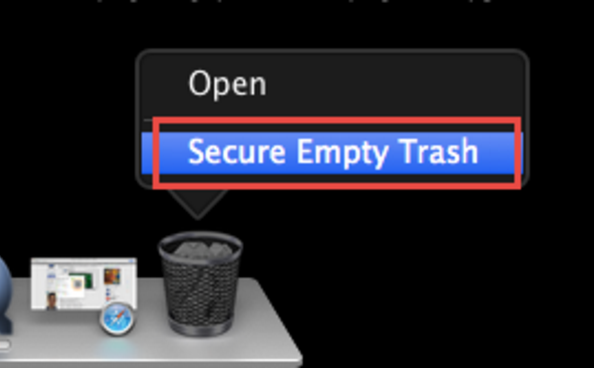
- Step 5: Empty Trash. Right click on Trash, click “Secure Empty Trash” and then choose “Empty Trash” in the confirmation dialogue box.
All these 5 steps can fully uninstall Battle.net for you. Yet you have to pay attention that you can’t empty your trash until you have confirmed that there are no anything deleted by mistakes. Of course, if you just wanna move the Battle.net away from your Mac and wanna re-install it, you can just drag the Battle.net icon to the trash. Complete uninstall is used when you really wanna remove some applications and save more space for your Mac.
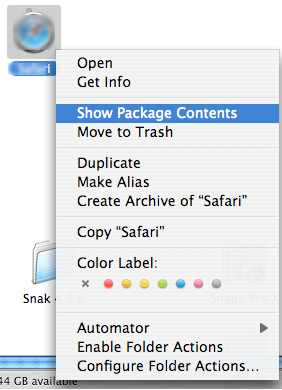
Actually, manual uninstall is not always so complex. When the application you wanna remove is a Packaged one, you can easily perform your uninstall of it. Yet how can you judge an application is a packaged one? Simple! Find the application icon, and then right click on it, select “Show Packages and Contents”. A packaged application will show you all its components in just one folders, and once you have made sure of that, you can easily uninstall it by dragging it to the Trash and then empty the Trash.
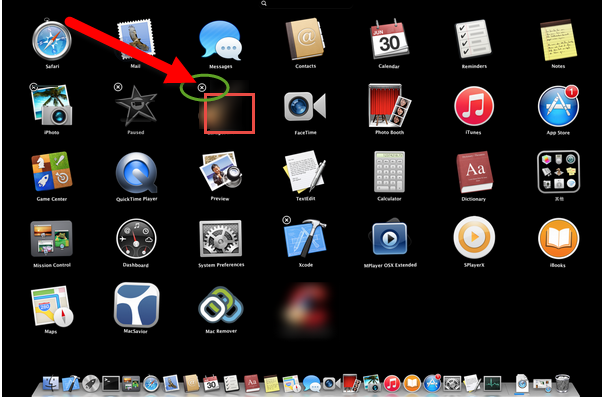
For the packaged application installed from your App-Store, you can remove it on your Launchpad by holding the icon until it wiggles and then click the “×” on the left upper corner of it, and of course, empty your trash.
Uninstall Battle.net manually might be a little bit difficult for you need to go through many steps. However, for many people, such complex instructions may cost much time and most of them won’t be available. Therefore, it is not a good choice to uninstall Battle.net manually. Along with the popularity of Mac, various Mac soft-wares have been created and updated day by day. You can resort to an uninstaller to help you remove Battle.net in seconds.
Part 2: Recommended Way to Uninstall Battle.net from Mac
Different from the traditional way to uninstall Battle.net from Mac, you don’t need to search for the trivial components hidden somewhere on your Mac, but just execute a few clicks to have your Battle.net removed with no traces left. Through this automatic method, you will save your time and just need to do a little work to complete your removal. Get your own remover for free and enjoy you uninstall right now.
Instructions to uninstall Battle.net via a remover
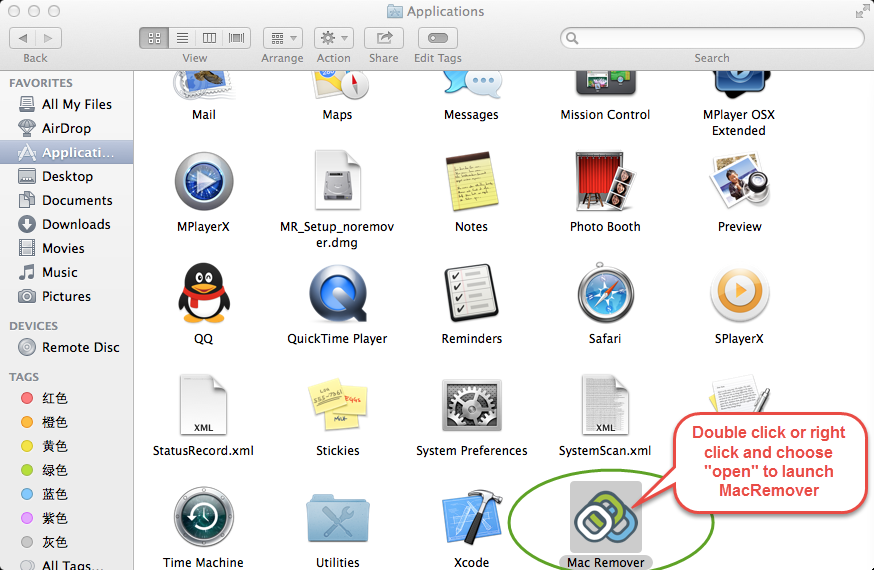
- Step 1: proceed your remover.
- Step 2: Find your target application you wanna uninstall, i.e. Battle.net, Highlight the icon by a single click and then click the button “Run Analysis”, which will scan out all the additional folders and files including logs, caches, and any other junk files that take up much disk space on your Mac leading to a slowdown or even crash.

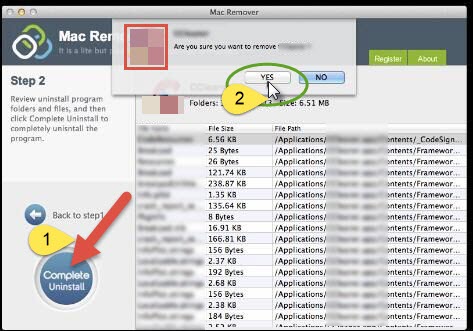
- Step 3: click “Complete Uninstall” and your uninstall is all done.
Here comes the end of this passage. The significance of this passage exists in helping or guiding you to uninstall Battle.net completely from your Mac, which I guess you have succeed. If you have adopted the automatic method to have your Battle.net removed, you’d better keep it on your Mac, you can also uninstall other applications by utilizing this remover providing a clean environment for you Mac to perform.