Do you want to uninstall BlueHarvest 6.3.7 totally from your Mac computer? Do you know how many steps you need to follow in order to achieve a complete removal? This post will demonstrate the available approaches to help you remove BlueHarvest 6.3.7 thoroughly in Mac OS X in details.

Generally, the approaches to uninstall BlueHarvest 6.3.7 can be classified into two kinds, one is the manual way and the other is the automatic way. Although many people think that the manual uninstallation should be the seemingly simply drag-and-drop method, it is not the case. To fulfill the removal task with the manual operations, one may have to search for and located the components of BlueHarvest or other unwanted applications in these major folders:
~/Library/Preferences/
~/Library/ Application Support/
~/Library/ Caches/
Thus if you still hold that all you need to do is just dragging the icon of BlueHarvest to the Trash to manually remove BlueHarvest 6.3.7 completely in Mac, you are in need to learn the correct instructions here.
Correct instructions to manually remove BlueHarvest 6.3.7 totally from Mac computer
This method is easy and also difficult to perform for it involves a number of steps. Therefore, it is more suitable for the advanced Mac users who are more familiar with Mac OS X, and not recommended for average users, especially the newbie ones.
To manually uninstall BlueHarvest 6.3.7, you will need to adopt a four-step strategy, yet note that this four-step strategy is not so simple. Now let’s see the detailed instructions.
Step 1: Kill the process (processes) of BlueHarvest.
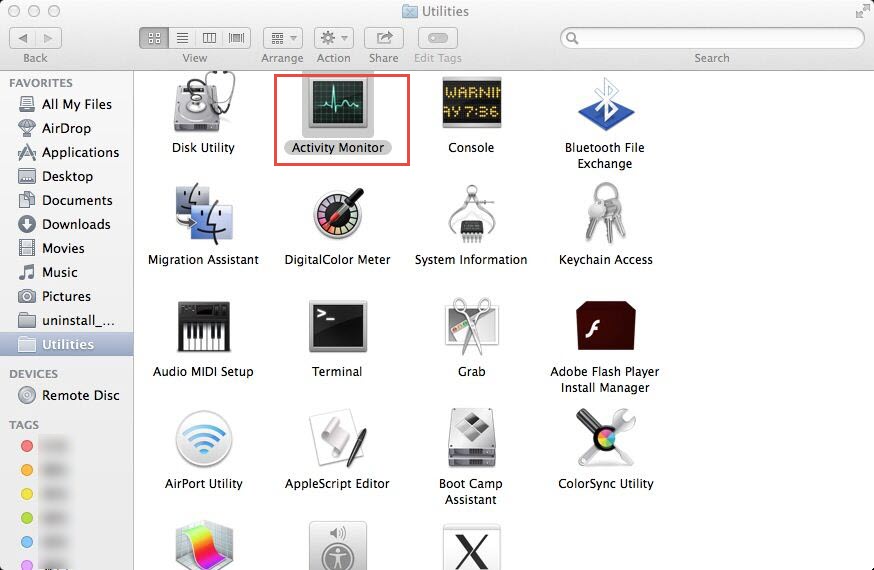
- Launch the Activity Monitor by navigate through Finder-Applications-Utilities;
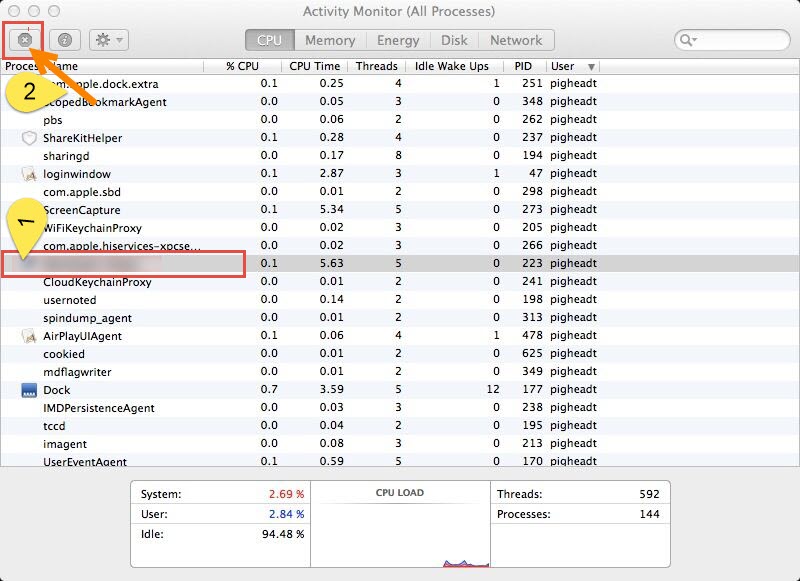
- Select the process of BlueHarvest, click on the quit process button (a cross) on the interface;
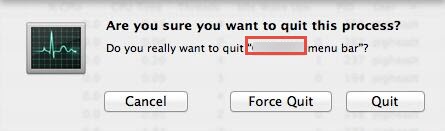
- Choose “Quit” in the pop-up window.
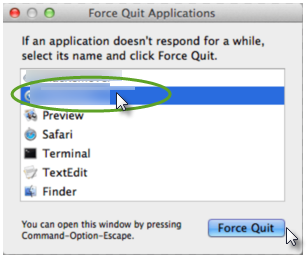
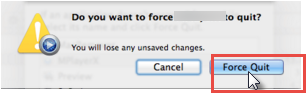
Or you can have an alternative instead of spending much time to locate Activity Monitor in Utilities folder, or sometimes the process is frozen, then you can hold down Command+ Option+ Escape three keys at the same time, click on the active BlueHarvest process, choose “Force Quit” button, and then make confirmation about the operation to stop running the process.
Step 2: Delete BlueHarvest executable files.
This may be the easiest part of the manual way and you can have more than one option to perform it.
- Find BlueHarvest in Finder, right click on the icon and then choose “Move to Trash”.

- Or you can also just drag the icon to the Trash can in the DOCK, as what you usually do.

Step 3: Clean up the leftovers of the deleted BlueHarvest to get rid of all the traces of it.
This is the most difficult part of the manual way for many Mac users just don’t know how to search for those hidden junk files of BlueHarvest after removed it. Actually, as we have mentioned at the beginning, you need to locate the junk files related to BlueHarvest in three folders, including ~/Library/Preferences/, ~/Library/ Application Support/, ~/Library/ Caches/, and here are the details about how you can make it.
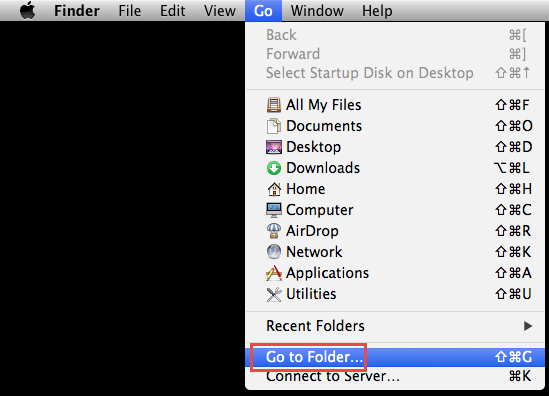
- Click on Go button on top of your screen, select “Go to Folder”, and you will be directed to a new window.
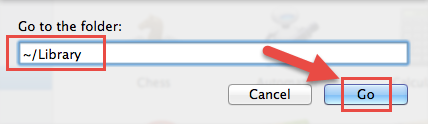
- Enter “~/Library” and then click on “Go” button to head to Library interface.
- Open Preferences folder.

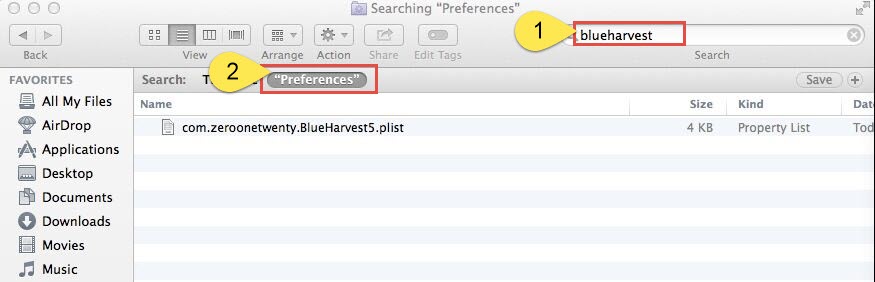
- enter “blueharvest” in the search area on the right upper corner of the window, limit your search scope to “Preferences” only instead of “This Mac”, and then you can see the lists of BlueHarvest preferences files inside. Select all the files and move them to the Trash.
- Go back to the Library, open the Application Support folder, and also enter “blueharvest” in the search area, limit the search scope to “Application Support”, and then delete the junk files you found there.

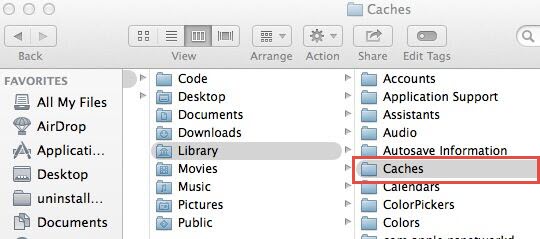
- Again, do the same trick to locate and delete caches associated with BlueHarvest in the Caches folder.
Step 4: Empty Trash.
- Right click on the Trash icon and then select “Empty Trash”.
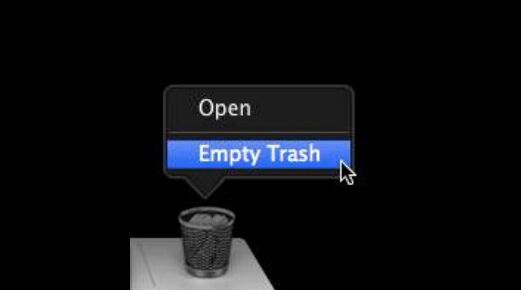
- Confirm the operation in the pop-up window.
This is the end of the manual uninstallation. Yet before you empty Trash, remember to check the files in your Trash can in case you would delete something important and never get it back for this act cannot undo.
Most of you may be familiar with the steps above except for the third one. In fact, the third step is the key step to completely remove BlueHarvest 6.3.7 without leaving any trace behind. Considering the complexity of the manual operations, hereby we will present an easier way to guide you remove BlueHarvest from your Mac computer.
Fast remove BlueHarvest 6.3.7 with simple steps via a third party uninstaller
Apart from the manual uninstall method, you can also carry out an automatic approach, which allows you to uninstall BlueHarvest 6.3.7 quickly in seconds. Here is how.
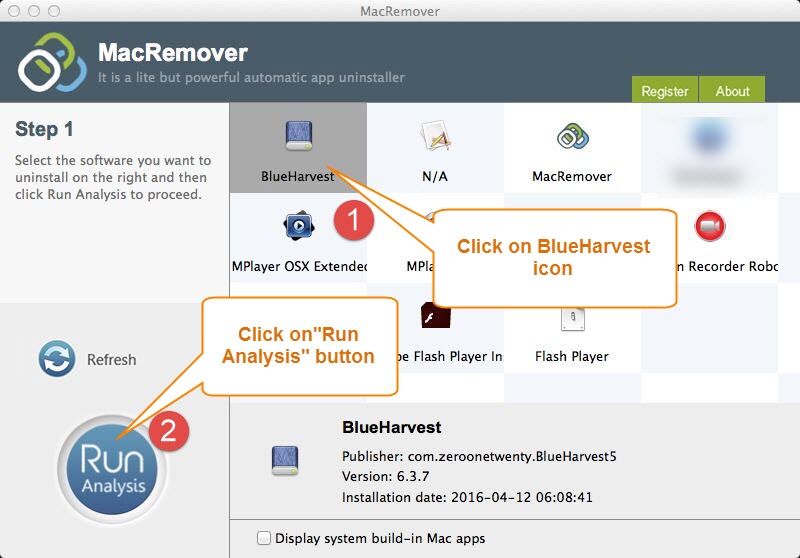
- Step 1: Install and activate the uninstaller.
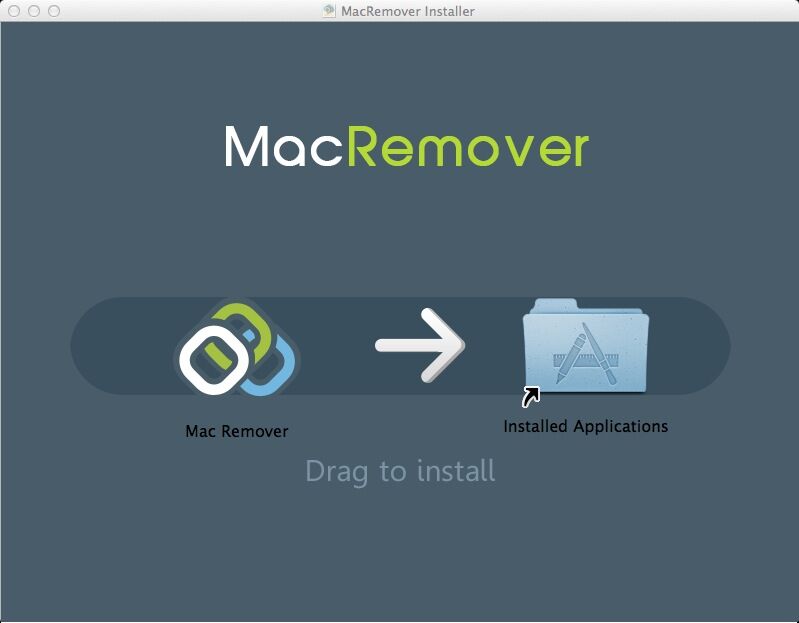
- Step 2: Select BlueHarvest with a single click, and then choose “Run Analysis”.
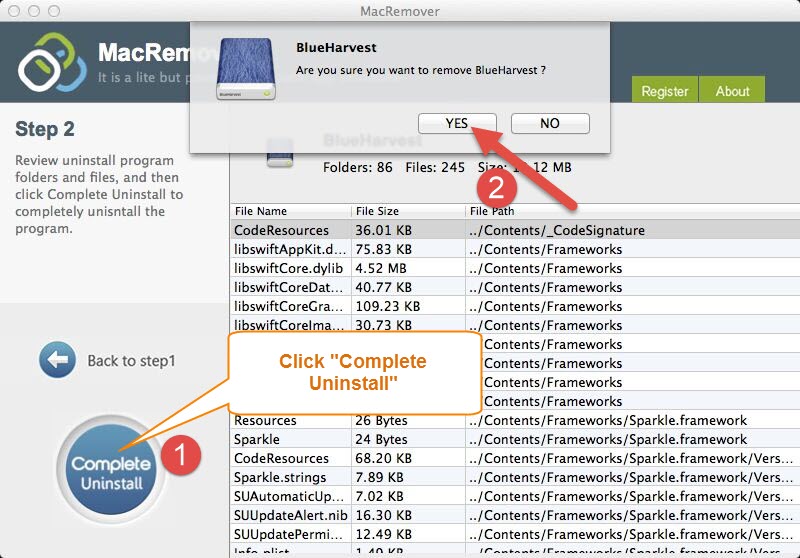
- Step 3: Click on “Complete Uninstall” button and then select “YES” to finish your removal.
Now can you see how easily to remove BlueHarvest 6.3.7 thoroughly in Mac OS X? You can apply the typical uninstall way or take a shortcut to have a fast removal of the unwanted application.