
Xcode is a suite for Apple’s developer available on both iOS and Mac OS X, it is necessary if you intend to write apps for either of the operating systems. If you don’t need Xcode or its accompanying utilities, it’s a good idea to uninstall it. Why? The simplest reason is because it takes up a lot of disk space, generally a minimum of 7GB is consumed by the installation. That’s a lot of storage capacity taken up by something that is potentially getting no use. Well, it depends on your case.
Installing Xcode is just a matter of getting it from the Mac App Store, but what if you wish to uninstall Xcode? Doing so is not the same as removing other general apps or ditching the default apps, because Xcode has much larger footprints. You will have to venture into the command line. In this article, I will explain every step you need to perform before achieving the complete removal. Then an effective Mac cleaning tool is provided in the next part. If you are expecting a much easier method, have a try on the tool.

Learn to Manually Uninstall Xcode for Mac
Removing applications in Mac is very different from that in a Microsoft Windows environment, because Mac OS X has nothing like the Control Panel or Windows Registry. Basically, removing an application for Mac is quite easy. For instance, to permanently uninstall Xcode, you only need to drag the icon to the Trash, then empty Trash. But to fully uninstall the application, there are something more you need to go through. In the following content, I will guide you on how to correctly uninstall Xcode on your own.
1.Quit the Program through Activity Monitor
This is to make sure Xcode is not running at the time. Launch Activity Monitor, and at the top of it, chance My processes to All Processes, then quit the process before starting the removal.
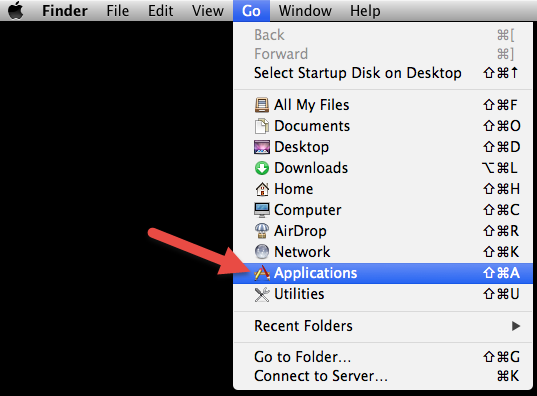
2. Finder – Go – Application
Find the program icon. Most Mac OS X programs (anything that ends in .app) are bundles. The program icon you see in Application folder is usually a special folder itself, made to appear as a single double-clickable file. These folders has all, or at least most, of the files required to run the program, which means to uninstall the program, you only need to drag them to the Trash first.
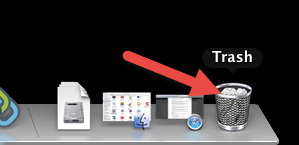
3. Drag it to the Trash.
When you drag and release your selected program icon over the bin, you will here a sound effect like the program is being scrunched up. In fact it is still there until you Empty Trash. Before doing that, you are able to drag it back to where it was, and nothing would be chanced. This function is to protect anything that is deleted by mistake.
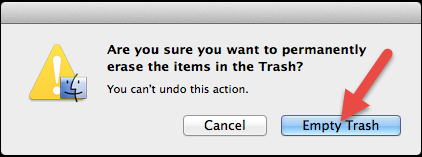
4. Empty Trash.
You can empty the Trash to permanently uninstall Xcode once you have made up your mind that you will never again need the program. This will free up the space, which was taken by it, on your computer. Then you need to manually find and delete its additional files.
5. Check Two Library folders.
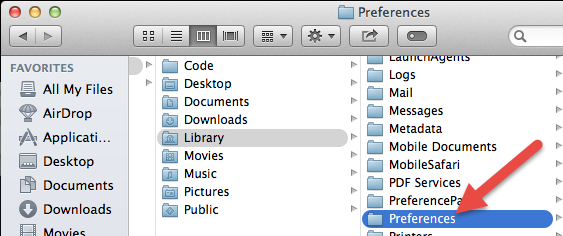
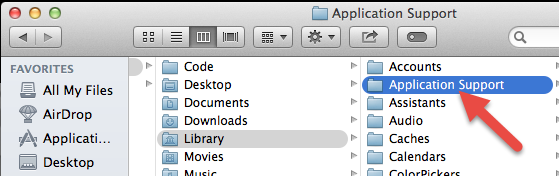
The drag-and-drop steps will leave behind Preference files and sometimes Application Support files in Library folders, neither of which are stored in Application bundles. Although they just take up negligible disk space, it is better to remove them for a complete removal. But if you are going to reinstall Xcode later, just keep them there, so that your personal settings get to remain. To delete the said vestiges, check both Library folders:
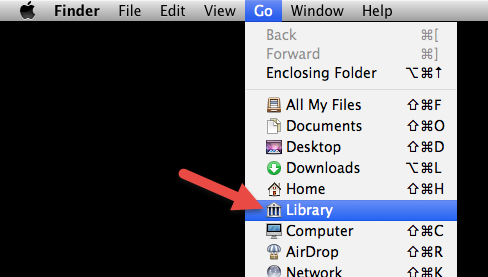
In your user’s Library folder:
~/Library/Preference
~/Library/Application Support
In the system-wide Library located at the root of the system volume:
/Library/Preferences
/Library/Application Support
6. Find those with the name of Xcode or its vendor.
In the locations mentioned in last step, search for files with the name of the program or its vendor, then drag them to the Trash. If you are not so sure what you are looking for, a Google search about the program details might help you out.
7. Empty Trash again to completely uninstall Xcode.
This cannot be undone, meaning once you empty the Trash, the files you deleted can’t be restored. So be careful not to remove anything that is not supposed to be removed.
Any Shortcut to uninstall Xcode?
What if you prefer a much simpler way instead of closely following every step above? Fortunately we’ve got that covered.
1.Download – Install – Launch MacRemover
Get a good helper.
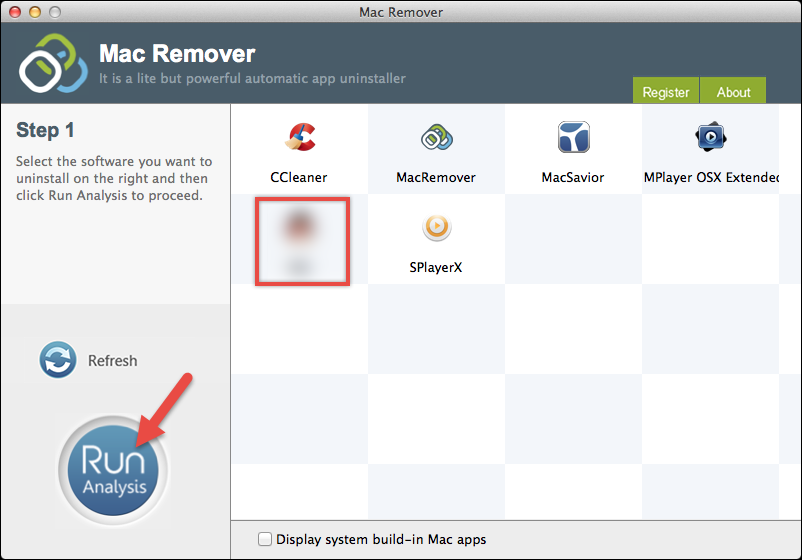
2. Select the Program and hit “Run Analysis.”
In the list of installed applications, select the program as a target, and hit “Run Analysis”. This will find whatever needs to be removed automatically.
3. Hit “Complete Uninstall” to completely uninstall Xcode.
It will display the files to be removed with their names, sizes and locations behind. Click on “Complete Uninstall” on the left to proceed with the removal. If you are prompted with the confirmation, click on “Yes” to completely uninstall Xcode.
The next time you run into another stubborn program, you know what to do.